How to Remove a Vanity Faucet: The Ultimate Guide
 ALT
ALTRemoving a vanity faucet can be a daunting task. It’s not hard, but it can be tricky if you’re not sure what you’re doing. Many people avoid changing their faucets because they are afraid of the process. They think it will be difficult, or that they might damage their sink.
The good news is that removing a vanity faucet is not difficult, and there’s no need to be afraid of damaging your sink. With a little know-how, you can remove your old faucet and install a new one in no time.
A Complete Guide for Removing a Vanity Faucet
So, you’ve decided to replace your old bathroom vanity faucet with a new one. Or maybe you’re just renovating your bathroom and need to remove the old faucet before putting in a new one. Either way, removing a vanity faucet is not a difficult task. With a few simple tools, you can have the old faucet removed and replaced in no time.
Here’s what you’ll need:
- A new vanity faucet
- Screws (if needed)
- Adjustable wrench
- Phillips head screwdriver
- Pliers
- Towel
Instructions:
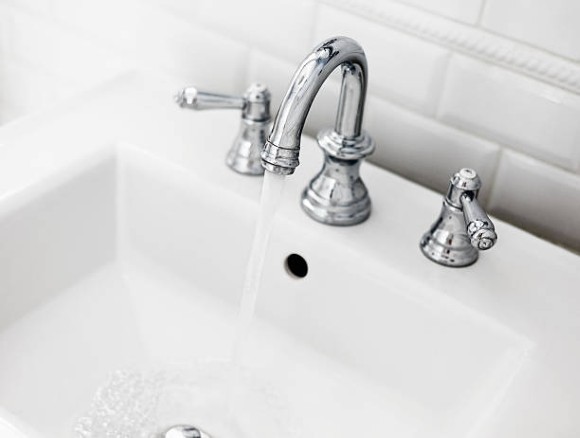
Step 1: Turn off the Water to your Sink
Before you begin any work on your sink, it is important to make sure that the water supply is turned off. Depending on your sink, this may be accomplished by turning a knob under the sink or by shutting off the main water supply to your home. Once the water is turned off, open up the faucet to release any residual water pressure and prevent any spillage when you remove the faucet.
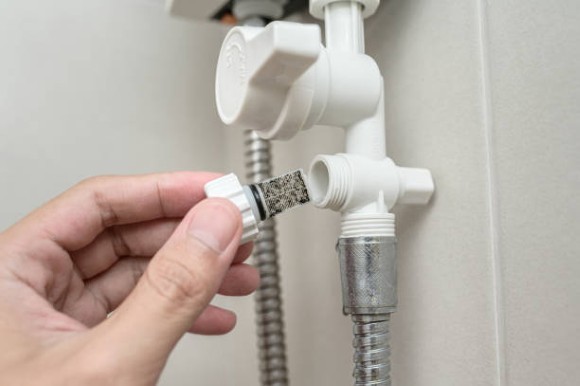
Step 2: Disconnect the Water Lines from the Faucet
Most vanities have two water lines coming out of them: a hot water line and a cold water line. Before you can remove the faucet, you need to disconnect both of these lines. After the water has been turned off, use an adjustable wrench to loosen the nuts that secure the hot and cold water lines to the faucet.
Once the nuts are loosened, carefully pull the water lines out of the faucet. If there is any water left in the lines, it will now come out, so be prepared with a towel to catch any drips. With the water lines disconnected, you should now be able to remove the faucet from your vanity.
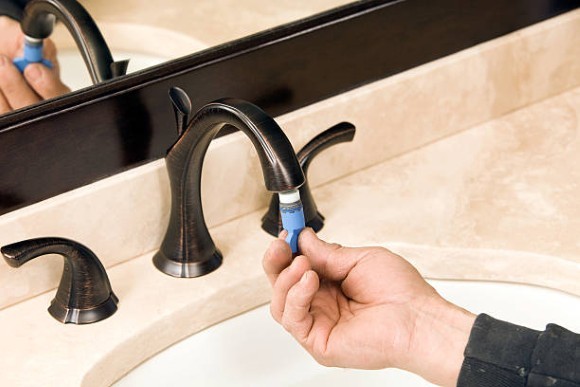
Step 3: Remove the Faucet
With the water lines disconnected, you should now be able to remove the faucet from your vanity. If your faucet is attached with screws, use a Phillips head screwdriver to remove them.
Once the screws are removed, lift the faucet up and out of the sink. If your faucet is not attached with screws, it may be held in place with a retaining ring. In this case, use a pair of pliers to loosen the retaining ring and then lift the faucet out of the sink.
You may need a friend to help you hold the faucet while you loosen the retaining ring. With the old faucet removed, you are now ready to install your new vanity faucet.
Final Thoughts
Now that you know how to remove a vanity faucet, there’s no need to be afraid of changing your bathroom fixtures. With a little know-how and the right tools, you can easily remove your old faucet and install a new one. Be sure to follow the instructions that come with your new faucet and you’ll have it installed in no time.